
 Last week I needed to make a handmade gift for a special party. Last week I also realized I hadn’t crocheted in years. This DIY crochet cotton washcloth is the easiest and most practical first crochet project though. My mom said as she watched me, “Even I could do that!” and she normally doesn’t like this sort of thing. I was able to whip these out and considering that I haven’t picked up a crochet hook in well over a decade (wow I sound old) I think that’s a good sign for everyone.
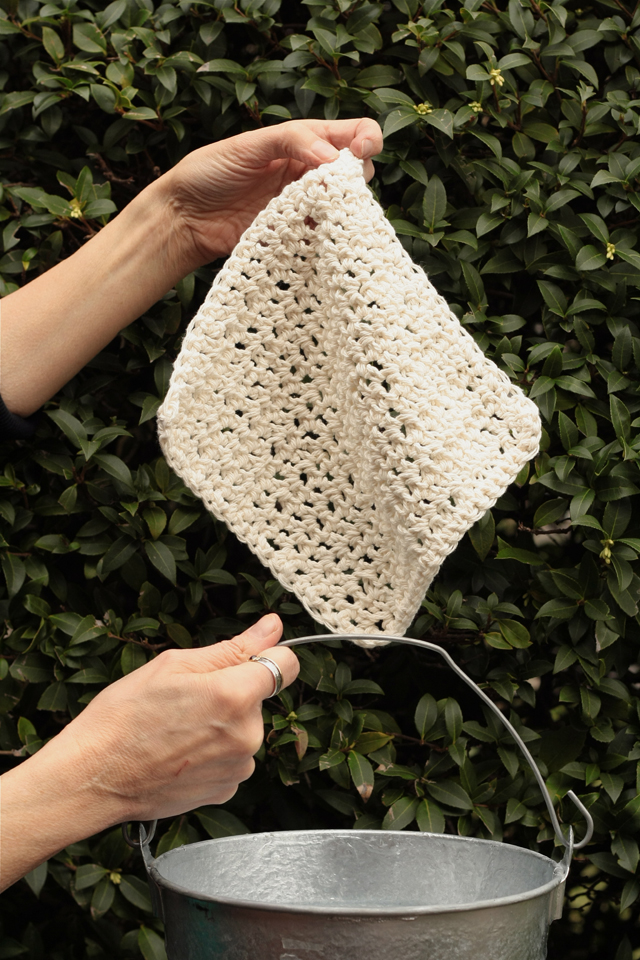
Also If you haven’t ever used one of these types of washcloths then you’re in for a treat! They work so well! All you need is 100% cotton yarn (DON’T use wool…) and a crochet hook. I used size J (9 or 6.0mm). Warning: I don’t know all the crochet terms so I’ve put in the words I would use if you were sitting on my couch and I was showing you how to do this. 🙂
Step 1: Make a slip knot. (Pictures 1-3)
Step 2: Place hook in slip knot. Taking your long string connected to the ball of yarn weave that over your ring finger, under your middle finger, and over your pointer finger. (Picture 4) Hold the base of the slip stich with your thumb and ring finger + middle finger. (Picture 5)
Step 3: With your other hand twist the hook around the long piece of yarn in a clockwise motion and bring it down through the slip knot. (Picture 6) You just created your first stitch! Way to go!
Step 4: You’re going to make a chain of stitches so repeat step 3 twenty more times (or until you think it’s a good size for a washcloth length!) (Picture 7) Keep in mind that you don’t want the tension of the string to be too tight or too loose. Now that you have your chain you’re going to want to look at it and make sure you’re on the side that has the little “bumps” running down the center. (Picture 8) The other side will look like V’s.
Step 5: Insert your hook into the closest bump. You should now have two loops on your hook.
Step 6: Then wrap your hook around the string clockwise and bring it back down through the first loop. Repeat. Next wrap the hook around the string for the third time and draw it back down through both loops on the hook. Repeat steps 5-6 until the end of the row. (Pictures 9-13)
Step 7: From here on you’ll need to repeat step 6 but instead of going through the bump you’ll want to pick up both sides of the V. (Pictures 14-18)
Step 8: Once your piece is square you can then finish it off with a pretty edge. Begin at the start of a new row by going into the V and wrapping the hook around the yarn once and drawing it back through the loop. Then wrap the hook around the yarn one more time and draw it down through both loops on the hook. Repeat this all the way around the square. There won’t always be perfect little V’s on two of the sides so just use the holes along those edges.
Step 9: Cut the string leading to the ball of yarn with a few inches to spare. Pull that tail through the last loop and then knot. Once it’s secure you can weave in your end a few times (and then knot again) or just cut it off.
Have you ever crocheted before? If so what is your favorite thing to make? Feel free to leave some encouragement for beginners in the comments below! I hope you enjoy this tutorial and if you have any questions please feel free to ask!
Comments are closed.