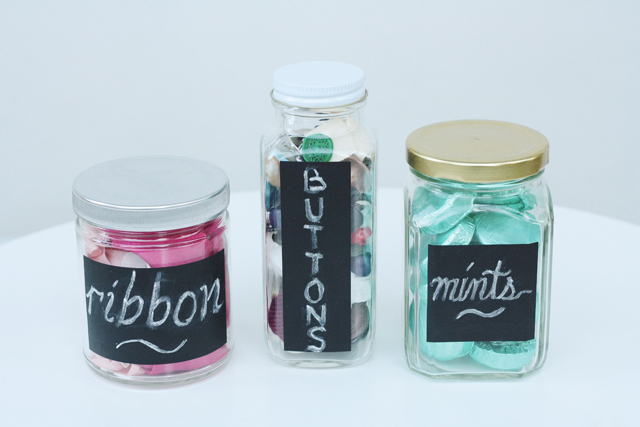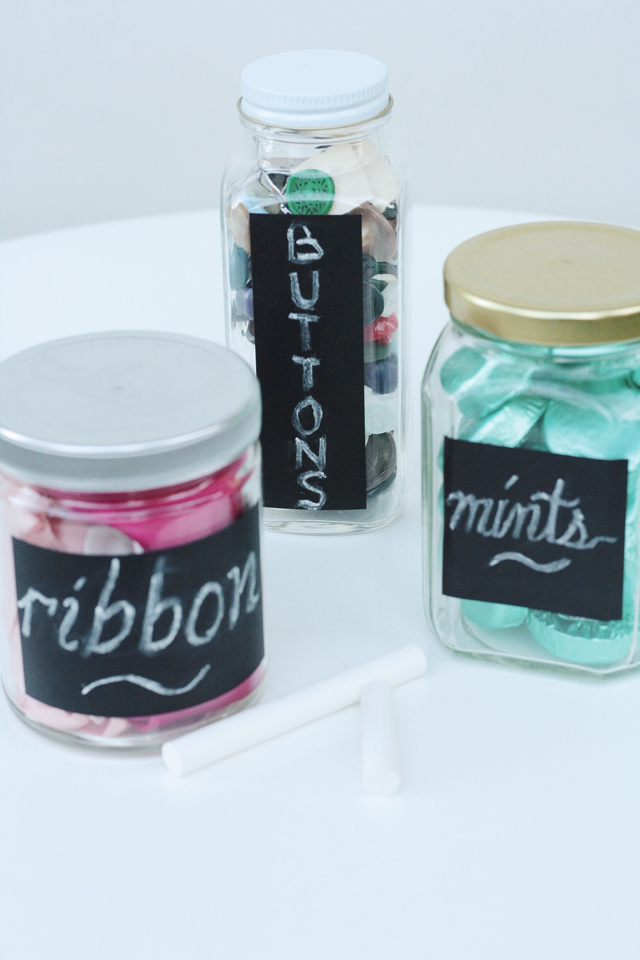

 Hello friends! I had so much fun making these little DIY easy organizers and I wanted to show you how to make them yourself. I love that you’re able to recycle and make the random tidbits around your house look cute while being organized.
Materials: clear glass jars, chalkboard tape, and chalk or a chalkboard pen.
- First you’ll want to ask your neighbor for some cute jars and then when she gives you amazing ones you’ll thank her and she’ll say she’s the jar whisperer. 😉 So I hope you have an amazing neighbor like that on your street! Okay now for the hardest part of the whole process which isn’t hard at all. You’ll want to boil some water and place your jars in the pan of water if they have labels on them. Once the labels start peeling you can just pull them off with tongs/tweezers. (In my case one jar was a pain and I had to go at it with soap and some serious elbow grease but all the others just came right off.)
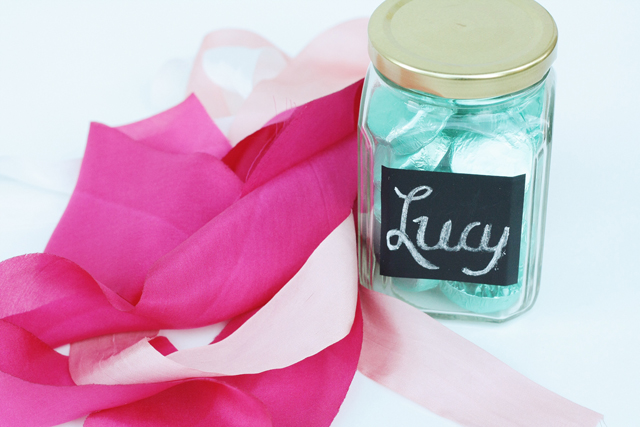
- Cut pieces of the chalkboard tape in squares, circles, rectangles, or any other shape that fits with your jar. Write what you want to put in the jars on the front and then peel off the backing and affix it to a DRY jar. If the jar isn’t completely dry it won’t stick well. Now just fill your jar with paperclips, bobby pins, ribbons, etc. I really liked the idea of filling these with candy, tying a bow around them, and either giving them as gifts or using them in place of of name cards at your table. They are quite versatile!
- If you have weird looking lids you can spray paint them. I only had to do this with one lid. The others already looked great in which case you can skip this step. 🙂
The reason I wanted to do these DIY organizers is because it uses recycled jars and it’s also so easy and cute. Feel free to pin to Pinterest if you liked this idea! If you make some I’d love to see so please tag me on Instagram with #misselainiousDIY!

Comments are closed.