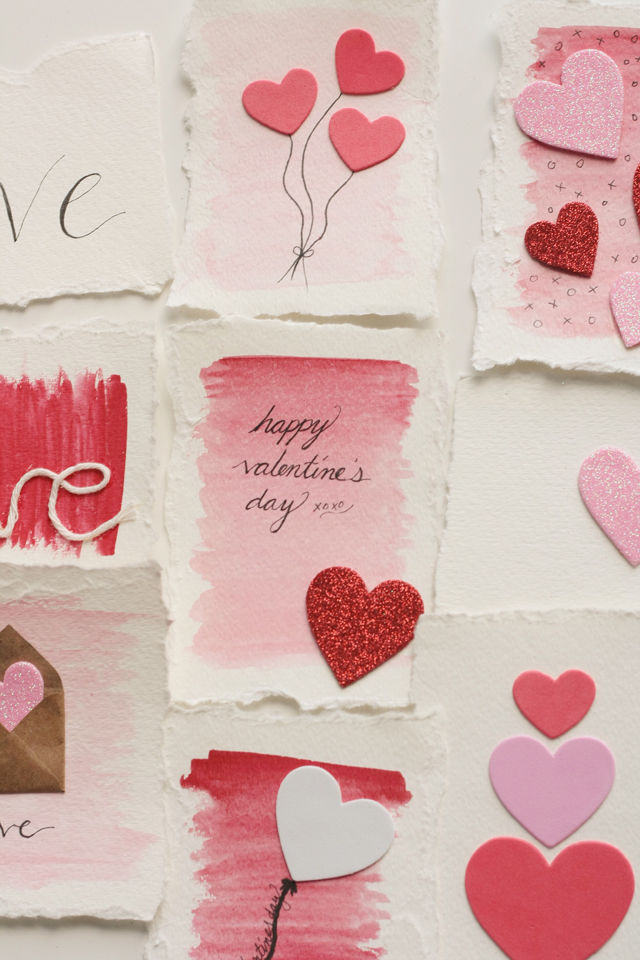
Handmade Valentine’s cards

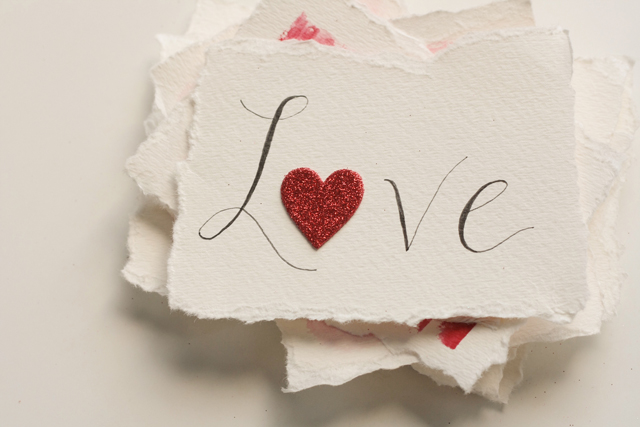
Handmade Valentine's Day cards 2016 misselainious-8 Handmade Valentine's Day cards 2016 misselainious-2 Handmade Valentine's Day cards 2016 misselainious-7 Handmade Valentine's Day cards 2016 misselainious-4 Handmade Valentine's Day cards 2016 misselainious Handmade Valentine's Day cards 2016 misselainious-6 Handmade Valentine's Day cards 2016 misselainious-3On of the sweetest memories I have with my sister is making Valentine’s Day cards.  She would buy all these fancy stickers and shimmery paper in soft pink and vibrant red and who knows what else.  We’d spread it out all over the kitchen table and we’d just create to our hearts content.  Her’s always looked like a Martha Stewart magazine and I always wanted to copy them but she’d encourage me to come up with my own designs.  I remember feeling really happy when she’d comment that she liked mine.

Sure it’s faster to go buy Valentine’s day cards but there is something so sweet about giving a handmade one.  Plus it’s also a whole lot of fun to glue stuff.  I’m like a three year old I tell ya!  So I wanted to inspire you to make your own cards this season and bless some friends with them.  Valentine’s day isn’t just for couples!

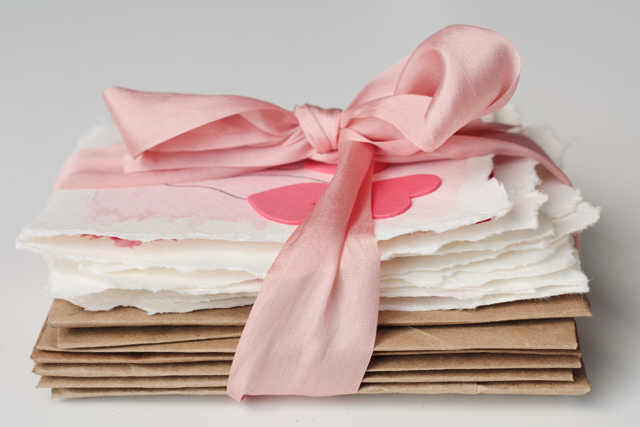
Making your envelopes is a great way to recycle so here is what you need to get started:

+  Brown paper grocery bag(s)
+  Envelope
+  Watercolor paper
+  Watercolor paint (optional)
+  Yarn or string (optional)
+  Glitter heart cutouts
+  Foam heart stickers
+  Pen or fine tip sharpie in black
+  Glue
+  Double sided tape (optional)
+  Scissors

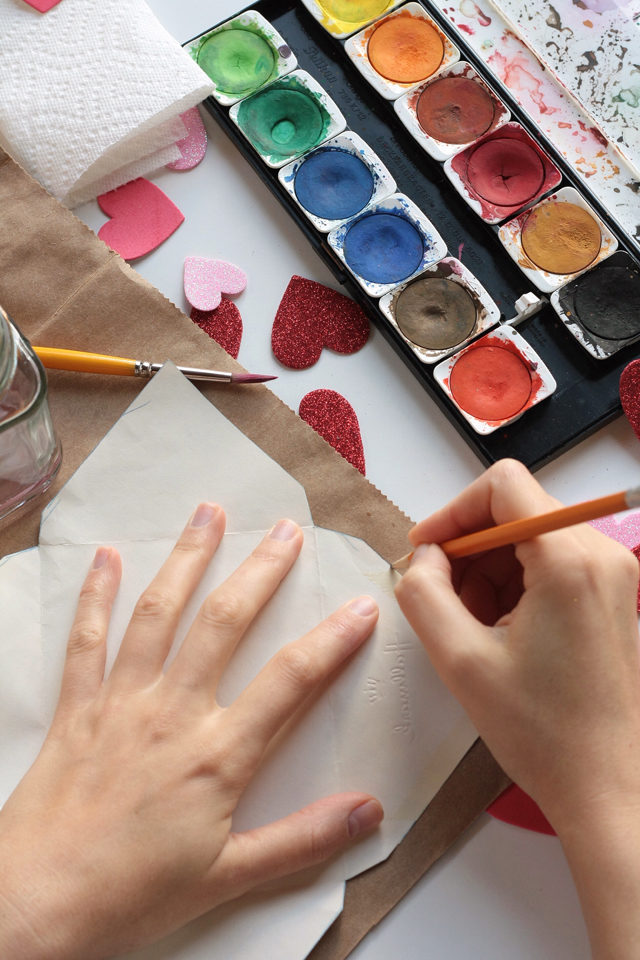
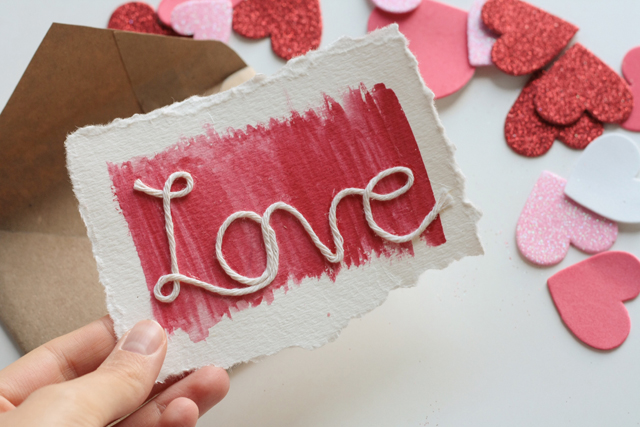
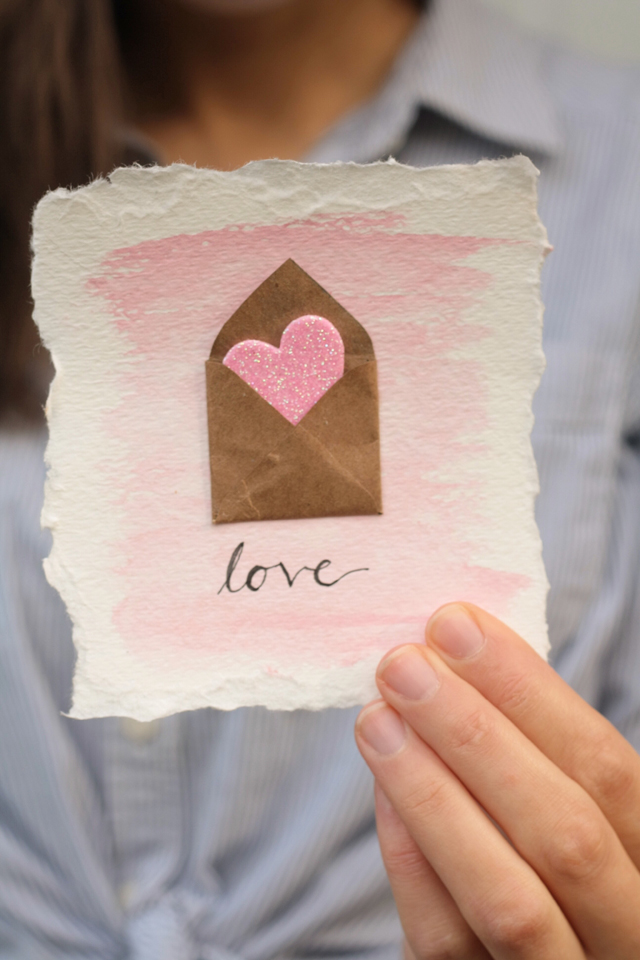
First you’re going to cut the grocery bag down one side and around the bottom  Now you can lay the paper down flat.  Next you’ll want to gently deconstruct an envelope to use as a pattern.  Place the envelope pattern on the bag, trace, and cut out.  Fold all four sides in towards the center.  Then you’ll want to glue the bottom flap up to the two sides and your new brown envelope is.  Reference the envelope you used as a pattern if needed.

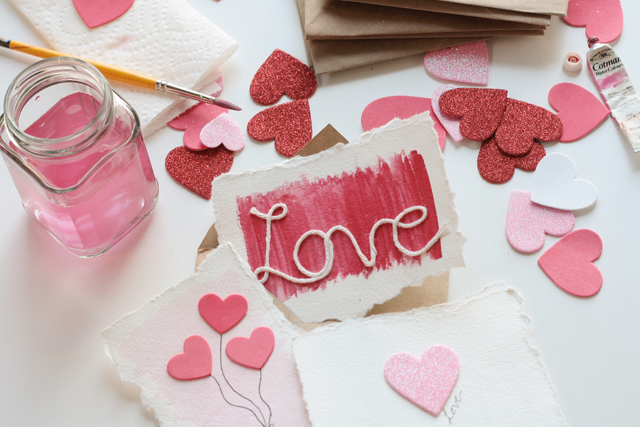
Once you have your envelopes made you can start on your cards!  I like to take watercolor paper and cut it to the size of my envelope and then tear the edges.  I like the weight of the paper and how it looks when torn.  Now here’s the fun part!  You can swish on some watercolor paint as a background or leave the paper white.  You can add hearts or write words on the front.  Here’s a great tutorial on how to create faux calligraphy if you need some penmanship help. 🙂  Really it’s just up to you to be creative and have fun but I’ve also included a lot of pictures for you to copy or inspire you.

I hope you send out a lot of Valentine’s Day cards this year.  I know it will make people feel loved and cared for since you took the time to create something for them and remind them that they aren’t forgotten.  Plus real mail is pretty fantastic.  This is one easy way you can be intentional about considering others.  I’m pretty sure you won’t regret it.

Posted on February 1, 2016 by |

Quotes

Misselainious_quotes1-29-16“Rest is not idleness, and to lie sometimes on the grass under trees on a summer’s day, listening to the murmur of the water, or watching the clouds float across the sky, is by no means a waste of time.”  John Lubbock

“There is no innovation and creativity without failure. Period.”  Brene Brown

“The more that you read, the more things you will know.  The more that you learn, the more places you’ll go.”  Dr. Seuss

“The way to do a great deal is to keep on doing a little.  The way to do nothing at all is to be continually resolving that you will do everything.” Charles Spurgeon

“We tend to use prayer as a last resort, but God wants it to be our first line of defense.  We pray when there’s nothing else we can do, but God wants us to pray before we do anything at all.”  Oswald Chambers

“Perhaps to be able to learn things quickly isn’t everything.  To be kind is worth a great deal to other people…Lots of clever people have done harm and have been wicked.”  Frances Hodgson Burnett

‘The beauty of a woman is not in the clothes she wears, the figure that she carries, or the way she combs her hair.  The beauty of a woman is seen in her eyes, because that is the doorway to her heart, the place where love resides.  True beauty in a woman is reflected in her soul.  It’s the caring that she lovingly gives, the passion that she shows and the beauty of a woman only grows with passing years.’  Audrey Hepburn

Posted on January 29, 2016 by |

I heart velvet

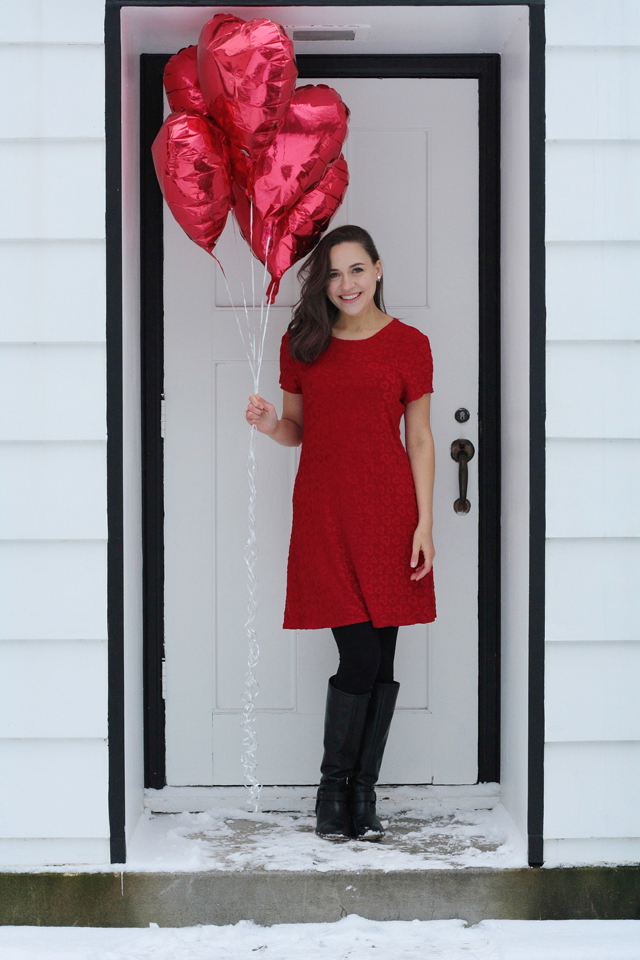
Misselainious_valentinesdayoutfit2016-3 Misselainious_valentinesdayoutfit2016 Misselainious_valentinesdayoutfit2016-5 Misselainious_valentinesdayoutfit2016-4 Misselainious_valentinesdayoutfit2016-2Can you believe that Valentine’s Day is right around the corner!?  I really like this day because I’m reminded of how beautiful love is.  Love isn’t just a romantic thing.  In fact true love is sacrificial and considers another before itself.  So I hope that whether you’re single or have a special someone that you celebrate.

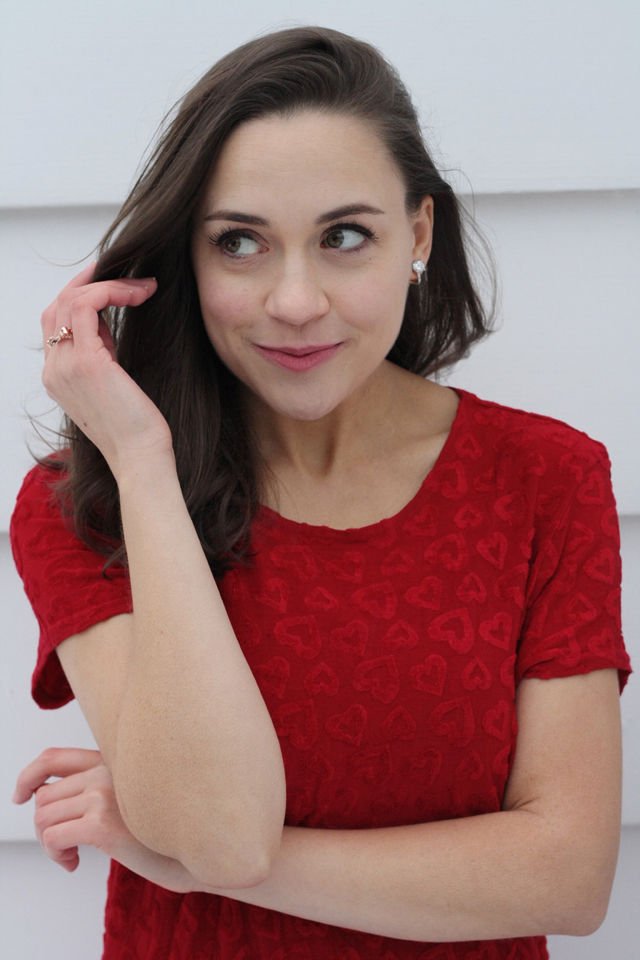
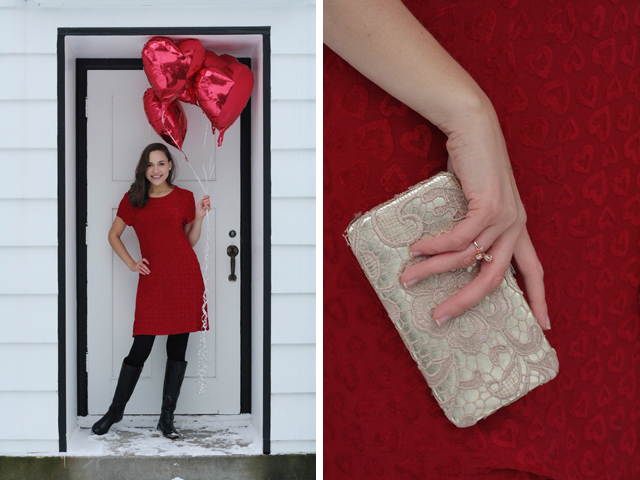
I wanted to show you that it is possible to create a cute and whimsical outfit from thrifted items.  I got this dress for just a few dollars at a local thrift store and when I saw it I knew I couldn’t pass it by since it’s covered in hearts and just made me smile.  These boots I purchased at a consignment shop.  The clutch was my Yia yia’s and the ring was a gift!

I hope this inspires you to put together a look for Valentine’s Day that has some edge to it and then go give balloons to someone who might be feeling discouraged about love.

If you want to recreate a similar look here are some suggestions:

Velvet dress  (made in the USA) / Boots  (made in Italy) / Clutch  (handmade) / Ring (handmade here or here or diy here)

{Also mad props to Malia for not only convincing me that we should shoot in freezing cold weather but for taking the photos as well.  Yes, that is snow on the ground.  Yes, we are crazy.}

Posted on January 27, 2016 by |

Silk ribbons

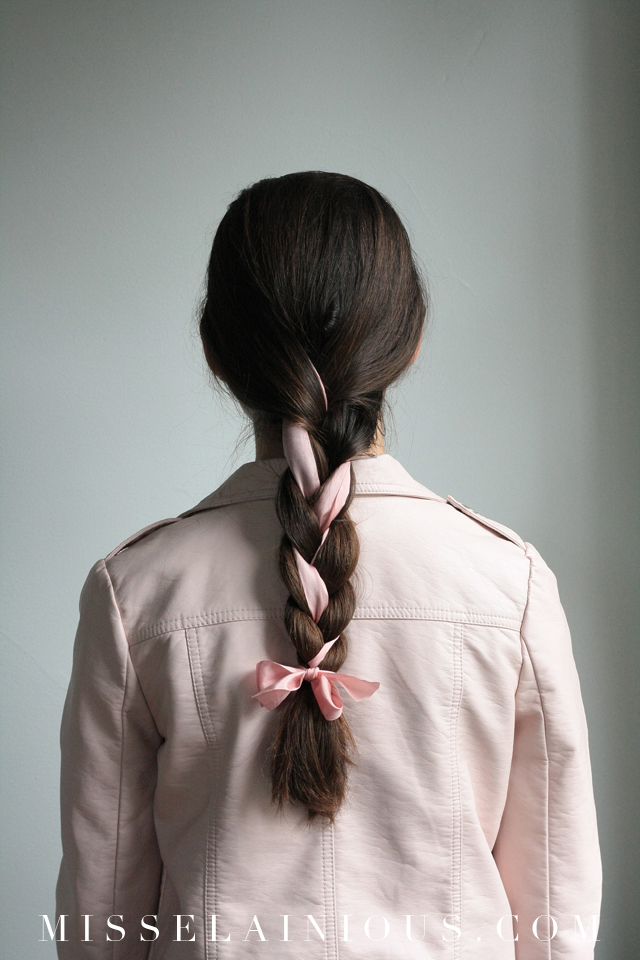
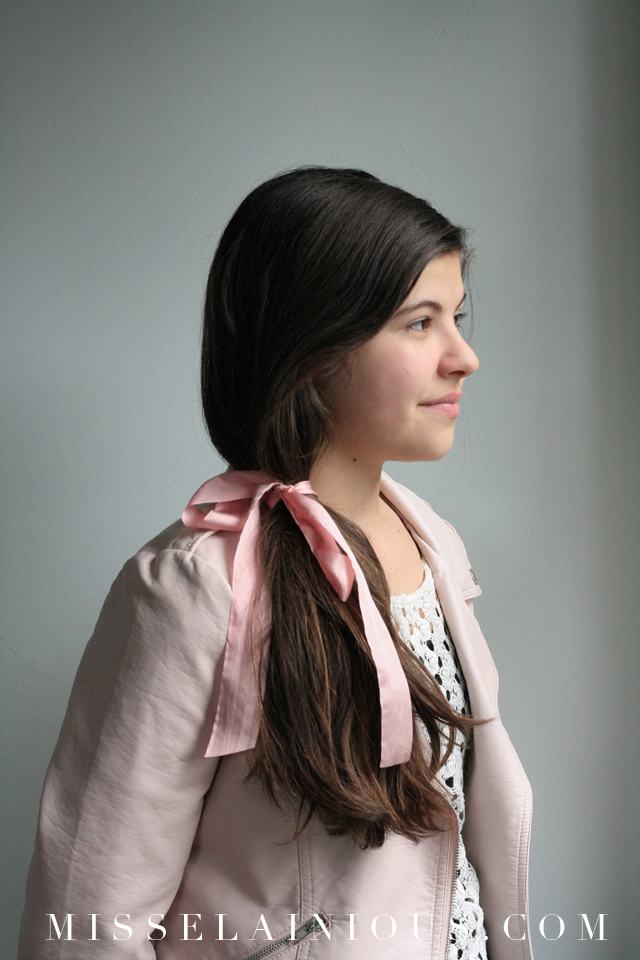
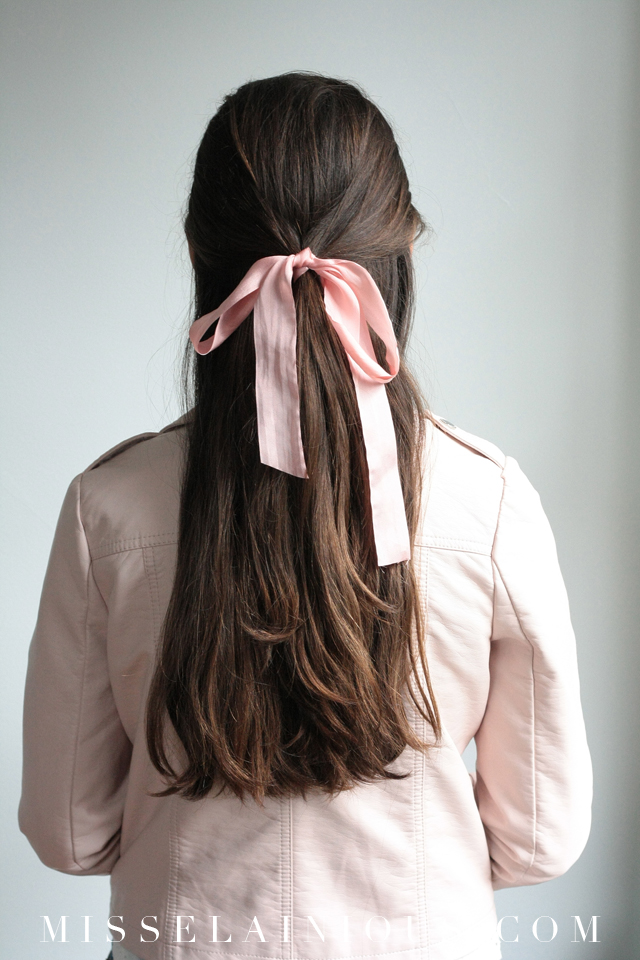
Misselainious_silk_hair_ribbons Misselainious_silk_hair_ribbons3 Misselainious_silk_hair_ribbons2This is the easiest DIY fashion post ever.  There are only two steps.  The first thing you need to do is buy some silk ribbon.  I got mine for a few dollars at the fabric store but I would love to invest in the ones from this lovely shop at some point since they are plant dyed.  It’s important to buy silk because of the way it hangs.  Then put it in your hair! You can use it in a braid, a half updo, or in your ponytail.  Also here is a cute way to store your ribbons.

I realize that I’m 27 and that “hair ribbons” are typically reserved for little girls but I just think they are so whimsical and sweet and I’ve decided that I like them.  Need convincing?  Look at how adorable Bridget Bardot looks here.  Or how chic is Alex Chung in this photo?  Still not convinced?  Fine, here’s Audrey Hepburn with a ribbon in her hair when she’s an adult.  You can find them in art too.  Now go get yourselves some silk ribbons! 😉

For reference I bought a little over a yard of silk.  If you’re interested in seeing a post on how to braid in a ribbon just let me know in the comments and I’ll create one. 🙂  And if you liked this post please share it or pin it! Thanks!

Posted on January 25, 2016 by |

Have a delightful weekend!

MisselainiousLinkLove1-22-16Hope you all have a fun and relaxing weekend!  Enjoy the link love below. 🙂

My mouth just started watering. YUM.

Are you guilty of these common fashion mistakes?

Did you have a dream job as a child? When I saw this organization was accepting applications I almost cried. DREAM JOB.

These large scale art installations are completely mesmerizing.

So maybe fairy-tales are real. These Disney landscapes and structures were inspired by real places.

My mom and I loved reading the snippets of this love story and seeing the incredible art creations that illustrate each “page”.  (You have the advantage of being able to read all of it at once.)

Posted on January 22, 2016 by |

Easy, beautiful half updo

EasybeautifulhalfupdoThis is so simple and fun!  If I can do this easy, beautiful half updo then you can too.  Don’t believe me?  I was the girl that couldn’t do her hair for the majority of my life.  My older sister always did my hair as a child and then, I kid you not, my next door neighbor did my hair all the other times.  I would literally call her and she’d come over and French braid my hair every Sunday.  Yes, she was a good friend!  All that though to say that you can do this because I can do it without even looking in a mirror and it turns out.  Here’s to making your hair look pretty and not taking a lot of time doing it!

  1. First section out the top part of your hair leaving both sides out.  Add in some dry shampoo if your hair is fine or slippery.  Then lightly tease this section.  Now put this section in a ponytail using a clear elastic.  Make a small hole right above the elastic and flip the ponytail through the hole.  Your hair should look twisted at this point.
  2. Divide one of the front side sections into three strands and braid.  Repeat on the other side.  Pull apart the braids so they look thicker.
  3. Then take the braids and secure them together with a clear elastic.  You are now going to flip that through the first hole you made in the original ponytail.
  4. Now take the braided ponytail end (this should be under your first ponytail) and wrap it up and around your fingers turning it in on itself and then bobby pin in place covering the first ponytail and making a little rosette or swirl.
  5. If the front looks a little flat gently pull on the hair around the crown to loosen it up but you don’t want to pull too hard.  You’re done!

See, easy! It shouldn’t take you more than a few minutes to do this easy, beautiful half updo.  I love that you could wear this with jeans and a t-shirt or with a beautiful dress to a wedding.  It’s so versatile and it will work with shorter hair styles as well if your hair is at least shoulder length.  If you try this I’d love to see it so please tag me on Instagram with #misselainioushair.

(Thank you Cleo for being such a wonderful model!)

Posted on January 20, 2016 by |

Why quality vs. quantity?

QualityvsQuantityWe often hear the phrase “Quality vs. quantity” but what does that really entail?  Today I want to share with you a few reasons why I believe quality vs. quantity is a life choice that produces healthy results.

1.  A change of heart can make you happier

First of all, to purchase things with quality instead of just buying a bunch of items takes a mental decision to really consider why you spend money and on what things.  It’s so easy to spot those sale signs from a mile away and not even consider if it’s something we really need.  Our consumerist culture has trained us to believe we need more, more, and then some more.  If we buy into the lie that says we always need more to be happy we’ll never be happy.  Choosing to be content with fewer quality items versus a bunch of cheap items is a beautiful way to let your life be about more than just things.

2.  Durability and longevity

Another wonderful reason to purchase quality items is the fact that quality means durability and the means of lasting longer.  If you choose to spend a bit more on something that is quality you won’t have to replace it as quickly.  A while ago I bought a pair of super cheap leggings. They cost me less than five dollars but within a few days they already had a hole in them! I’ve experienced this before with cheap leggings.  It’s taken me having to replace them twice (ugh) to start realizing I should find a brand that is more durable.

3.  Save

I realize that a lot of quality items cost more and that is often a hang up in purchasing those items.  In the long run though you end up saving money and time if you don’t have to replace something as often.

4.  Less clutter

Choosing to buy quality doesn’t mean that you have to live sparsely but it does mean that you choose to make thoughtful decisions about what you need and like.  This in turn leads to less stuff clogging up your space and life.

5.  Love what you own

One of the most rewarding things about choosing a quality vs. quantity lifestyle is that the things you’ve invested in mean more to you.  Several years ago I found the most gorgeous genuine leather purse in mint condition at the thrift store.  I bought it because I’d been looking for that exact thing (actually this was better than I imagined).  It’s a classic piece that will last me for life because it was crafted with the intent to last.  I enjoy it every time I use it and I get compliments on it frequently.

So the next time you go to make a purchase I hope you think about why you’re buying it, how long it will last, how you can save money in the long run, having less clutter, and loving what you own!  Ask yourself if it’s quality or quantity that you want to base your choice on.  In the long run I think you will be more satisfied with quality.

Posted on January 18, 2016 by |

Quotes

Quotes1-15-16Have a nice weekend everyone! Here are some quotes in case you’re in need of new ones for social media posts. 😉

“How beautiful a day can be, when kindness touches it!” George Elliston

“There is no definition of beauty, but when you can see someone’s spirit coming through, something unexplainable, that’s beautiful to me.” Liv Tyler

“A little kingdom I possess, where thoughts and feelings dwell; And very hard the task I find of governing it well.” Louisa May Alcott

“If we all worked on the assumption that what is accepted as true is really true, there would be little hope of advance.” Orville Wright

“If you don’t feel strong desires for the manifestation of the glory of God, it is not because you have drunk deeply and are satisfied. It is because you have nibbled so long at the table of the world. Your soul is stuffed with small things, and there is no room for the great.” John Piper

“No evil dooms us hopelessly except the evil we love, and desire to continue in, and make no effort to escape from.” George Eliot (Mary Ann Evans)

Posted on January 15, 2016 by |

DIY easy organizers

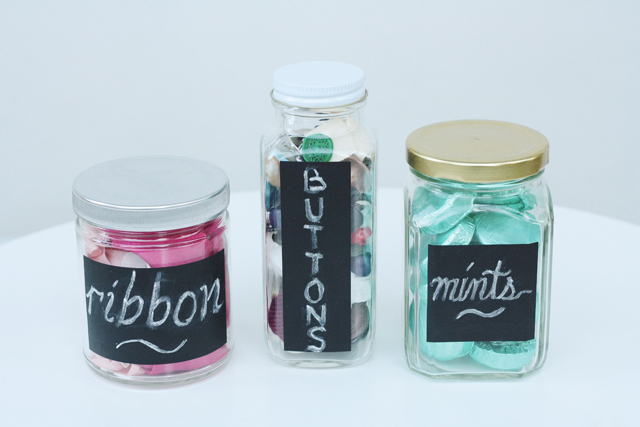
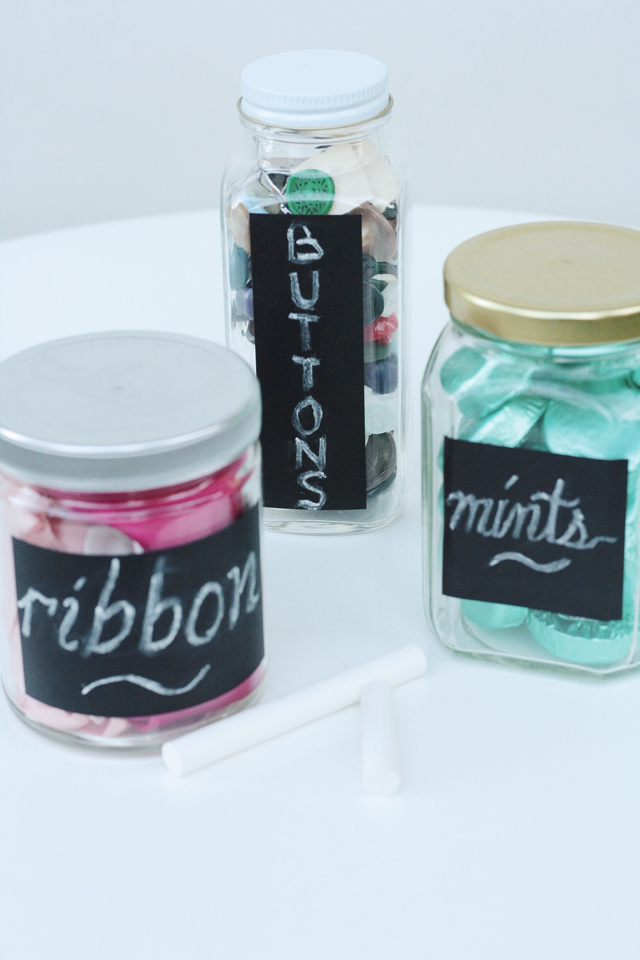
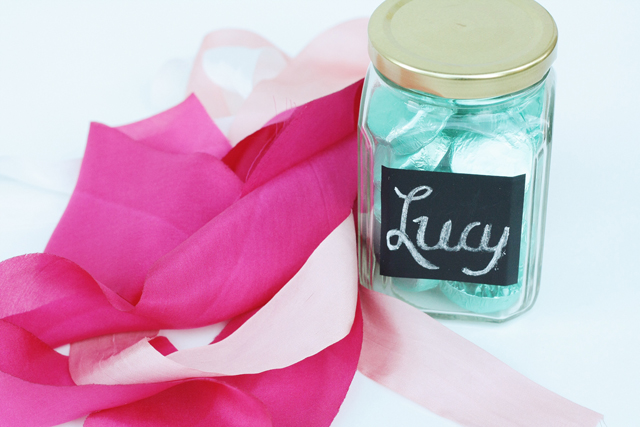
Misselainiousdiyorganizers-2 Misselainiousdiyorganizers-3 MisselainiousdiyorganizersHello friends!  I had so much fun making these little DIY easy organizers and I wanted to show you how to make them yourself.  I love that you’re able to recycle and make the random tidbits around your house look cute while being organized.

Materials:  clear glass jars, chalkboard tape, and chalk or a chalkboard pen.

  1.  First you’ll want to ask your neighbor for some cute jars and then when she gives you amazing ones you’ll thank her and she’ll say she’s the jar whisperer. 😉  So I hope you have an amazing neighbor like that on your street!  Okay now for the hardest part of the whole process which isn’t hard at all.  You’ll want to boil some water and place your jars in the pan of water if they have labels on them.  Once the labels start peeling you can just pull them off with tongs/tweezers.  (In my case one jar was a pain and I had to go at it with soap and some serious elbow grease but all the others just came right off.)
  2.  Cut pieces of the chalkboard tape in squares, circles, rectangles, or any other shape that fits with your jar.  Write what you want to put in the jars on the front and then peel off the backing and affix it to a DRY jar.  If the jar isn’t completely dry it won’t stick well.  Now just fill your jar with paperclips, bobby pins, ribbons, etc.  I really liked the idea of filling these with candy, tying a bow around them, and either giving them as gifts or using them in place of of name cards at your table.  They are quite versatile!
  3. If you have weird looking lids you can spray paint them.  I only had to do this with one lid.  The others already looked great in which case you can skip this step. 🙂

The reason I wanted to do these DIY organizers is because it uses recycled jars and it’s also so easy and cute.  Feel free to pin to Pinterest if you liked this idea! If you make some I’d love to see so please tag me on Instagram with #misselainiousDIY!

Posted on January 13, 2016 by |

3 easy sunflower butter snacks

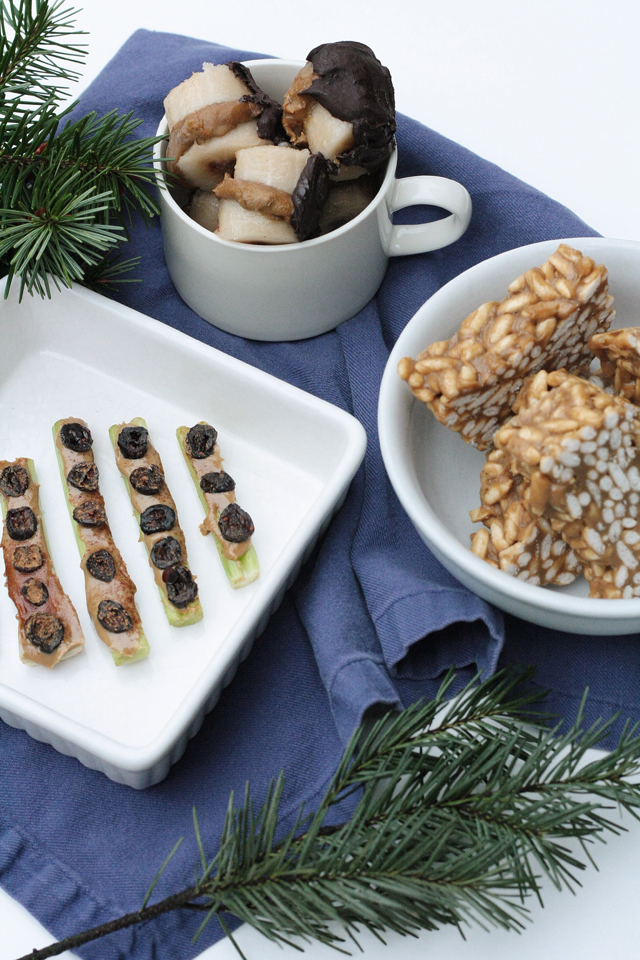
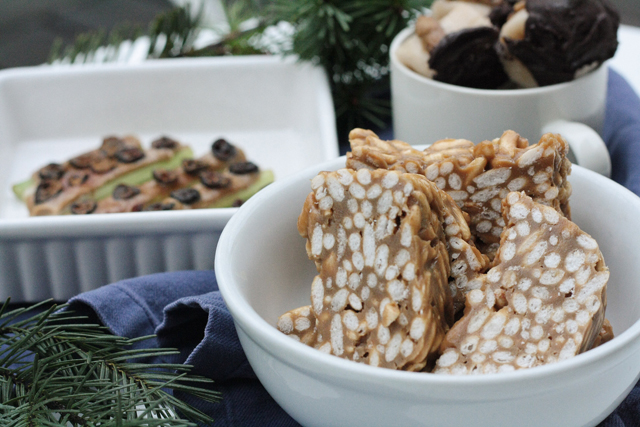
Sunflowerbuttersnacks-5 Sunflowerbuttersnacks-2 Sunflowerbuttersnacks-3 Sunflowerbuttersnacks-4Sometimes it’s hard to find quick and easy snacks that are healthy AND taste good.  Enter sunflower butter!  My go to snack has always been fruit but recently my doctor told me I needed to really up my protein intake. So after thinking it through I came up with these 3 quick and tasty sunflower butter snacks.  None of them have more than 4 ingredients!

Celery Logs

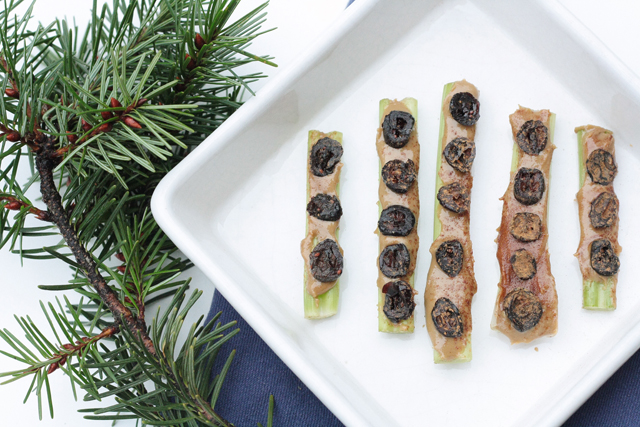
You’ll need: freshly washed celery, sunflower butter, dried cranberries (I use fruit juice sweetened ones), and cinnamon.

Instructions:  Take your celery stick and cut into 3 inch pieces.  Next spread a generous amount of sunflower butter in the dip of the celery and top with dried cranberries.  Sprinkle on some cinnamon and you have a refreshing little snack!

Banana Treats

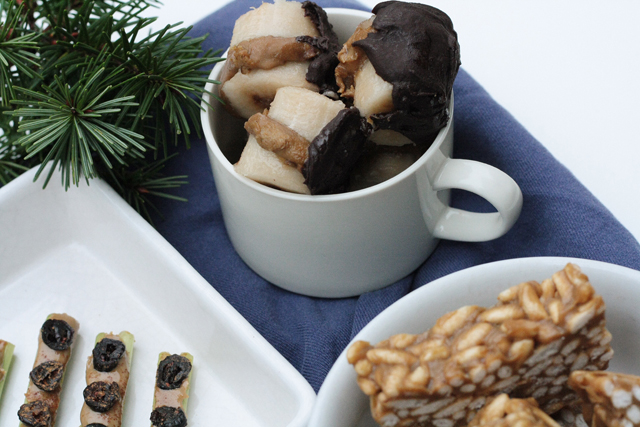
You’ll need: a banana, sunflower butter, semi-sweet chocolate chips or Baker’s chocolate (that’s what I used), and some honey.

Instructions:  Peel the banana and slice it into ¼ inch rounds.  Spread a dollop of sunflower butter on a banana round and top with another banana slice.  Place on a baking sheet and stick in the freezer till they are slightly firm.

In the meantime place a ½ cup of the semi-sweet chocolate chips (or several squares of Baker’s chocolate and some honey to taste.  I did about 1 tablespoon) in a double broiler to melt.  If you don’t have a double broiler (I didn’t) just place a saucepan on the stove with about an inch of water in the bottom and bring to a simmer. Then place a metal mixing bowl on top so that it just touches the water.  The chocolate goes in the mixing bowl until melted.

Once your chocolate is melted pull out the banana rounds and dip one side of them in the chocolate.  Then place them back on the baking sheet and put in the freezer till the chocolate hardens.  Make sure you don’t use an overly rip banana as the taste intensifies in the freezer.  You can cover them and store them in the freezer for a few days but once you eat one I doubt they’ll even make it back to the freezer!

Crispy Squares

You’ll need: rice crispy cereal or rice puffs, sunflower butter, and honey.

Instructions:  Line a small bread pan or bowl with plastic wrap and set aside.  Next place one cup of rice crispy cereal in a mixing bowl.  Heat ¼ cup sunflower butter and 1/8-1/4 cup honey in a saucepan stirring until combined and warm.  I used ¼ cup and it was really sweet so next time I’m going to use less.  Then pour the honey and sunflower mixture over the rice crispy cereal until evenly coated.  Finally place everything in the pan and cover and place in the fridge until it sets up.  You shouldn’t need to leave it in longer than 15-30 minutes.  Slice and eat!

It’s a bonus that these treats are gluten free, dairy free, and nut free.  I hope you enjoy these quick and easy treats!

Posted on January 11, 2016 by |

Design by Kiersta Rhodes. Site by 80twenty