
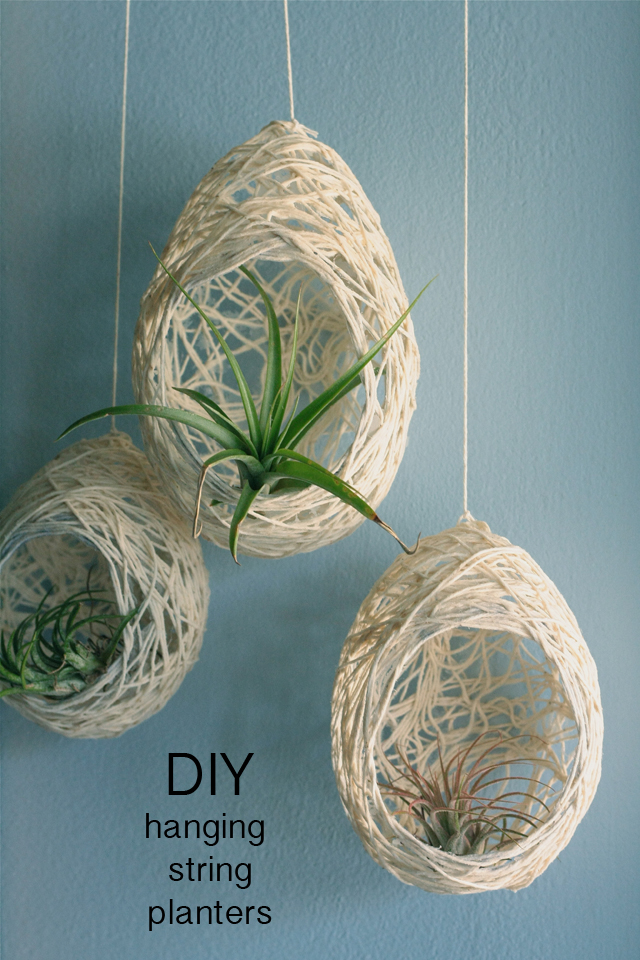
 You know that moment when you’re trying to fall asleep but ideas keep bombarding you? Well these DIY string hanging planters are one of those ideas that wouldn’t let me sleep one night. So of course I had to try to make them. I used to have the most gorgeous huge green plant in my room but when we moved it didn’t make it and since then I haven’t had any in my room. Enter air plants.
Warning: this DIY is messy and sticky so if you don’t like that then this isn’t for you. On the other hand if you loved camp as a child and enjoy creativity this is definitely for you!
You will need:
3 water balloons
String or yarnGlue (I bought a 7.5 oz bottle of Elmer’s glue and used about half of it)
1/4 cup corn starch
1/8 cup hot water
Cooking spray
Marker
Disposable bowl
Step 1: Blow up three water balloons to various sizes and draw an oval/circle on the side of each.
Step 2: Mix corn starch and hot water together in a disposable bowl.
Step 3: Add half of the glue bottle and stir till well mixed.
Step 4: Lightly coat each balloon with cooking spray. (This does make the balloons harder to hold but it helps the glue come off more easily later.)
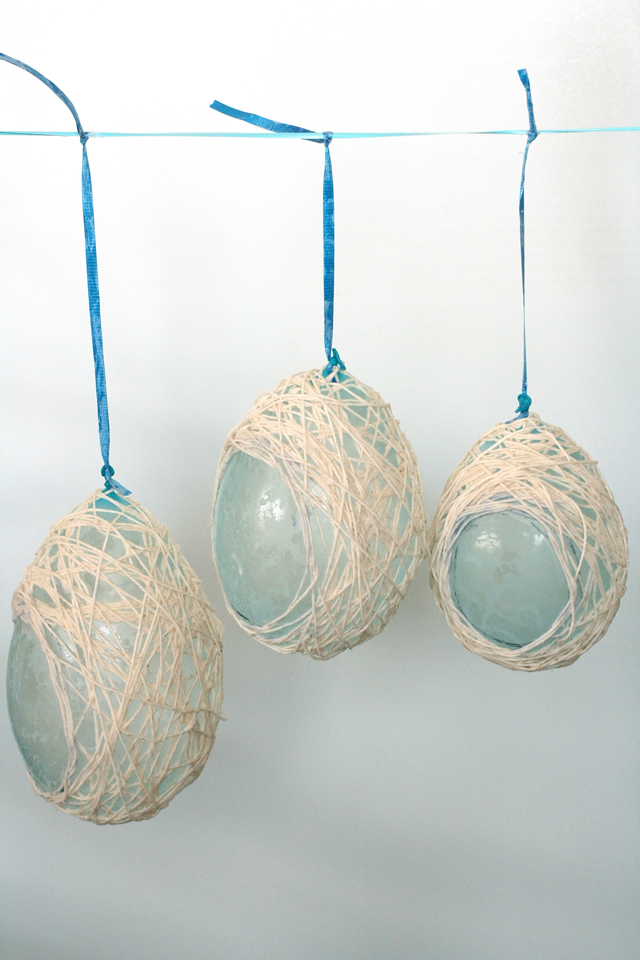
Step 5: Tie a different colored string (or curling ribbon) around the top of the balloon where you tied it off. You’ll use this to hang up the balloon to dry later.
Step 6: Take your string and start dipping it in the glue mixture and running it through your fingers to remove excess glue. Start wrapping it around the circle you marked on the balloon. You can wrap anywhere around the balloon but you don’t want to go inside that circle as that will be the opening to put in your air plants later. Make sure to cross the strings over each other.
Step 7: When you feel like the balloon has been well wrapped then cut the string from the spool leaving about a 24 inch tail. You’ll want to weave that under and over around the hole so that it attaches those strings to all the other stings.
Step 8: Hang your covered balloon on a string between two chairs or a clothes line (with some plastic underneath if it drips) to dry for 24 hours.
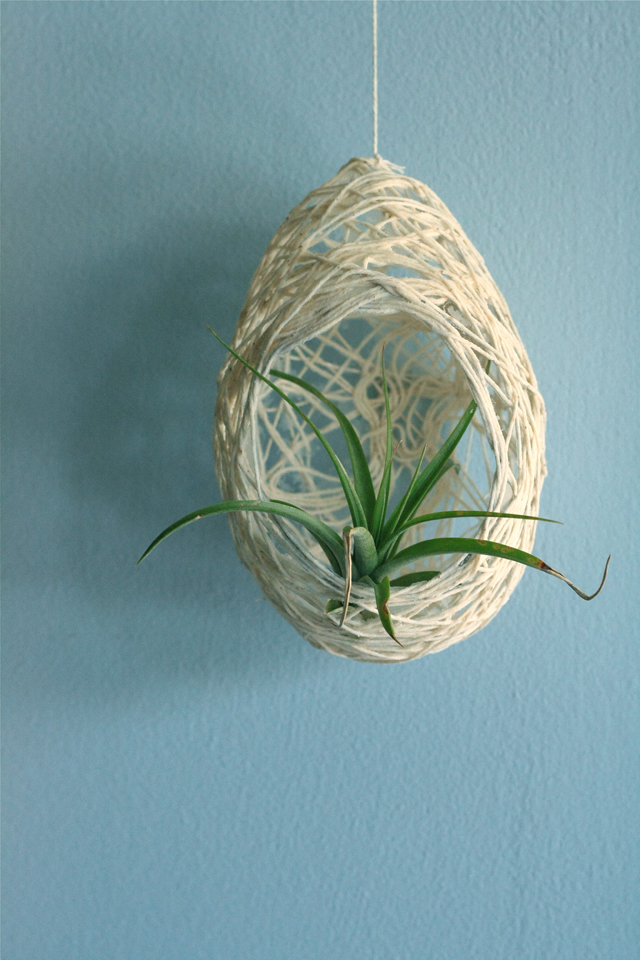
Step 9: Once they are done drying just pop the balloon and remove it from the yarn planters. Tie some string to the top and hang from a window or from the ceiling and place some air plants or dried flowers inside and you’re done! 🙂
Do you like plants in your house? Do you have a hard time keeping plants alive or do you have a green thumb? Let me know in the comments below and if you liked this DIY hanging string planters please pin it! 🙂
This looka like so much fun to do! 🙂 And I love how the planter looks a little like a nest for the plants.
It was super fun! Wish we could have made them together. I know there would have been a lot of laughs. Bless you for not saying they looked like eggs! (My parents kept referring to them as such lol!)